How To Remove A Boat Propeller In 10 Easy Steps
Removing a propeller from a boat may seem like a tedious job. But in reality, it is relatively straightforward to do. Taking off an inboard and outboard propeller only includes simple steps, which you can do even if you are not a professional in this kind of job. However, people seem to think that the process is complicated.
I will show you how to remove a boat propeller in 10 easy steps.
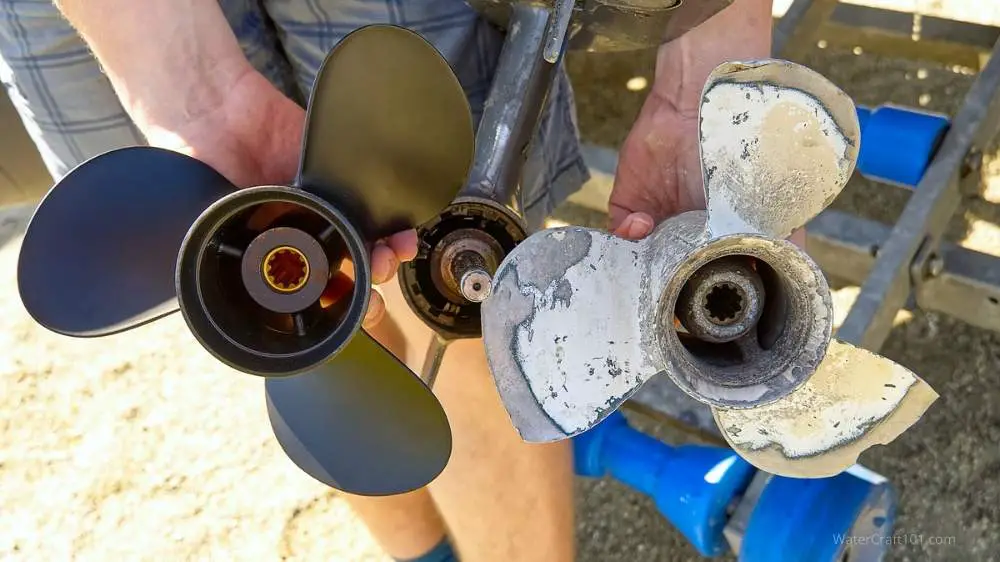
What You Will Need To Remove a Boat Propeller
All of the tools you will need to remove your boat’s propeller are simple and already available in your toolbox.
- Hammer
- A 2 x 4 wooden block – for stopping the propeller from turning
- Propeller wrench
- Clamp prop puller
- Needle nose pliers
- Flashlight
- A new propeller (if you want to replace the old one that you removed)
- A clean cloth
- Marine grease (source)
10 Steps On How To Remove A Boat Propeller
There are several different reasons why you may want to remove your boat’s propeller. It can be that you want to replace it with a new one or clean the propeller and its parts. Fortunately, the steps to remove a boat propeller are relatively straightforward.
Activate The Propeller’s Kill Switch
Video Credits: South Dakota Game, Fish, and Parks
Before anything else, it is ideal to activate the kill switch on your boat’s propeller before working on removing it. This step will shut off the machine and prevent accidents from happening. You can also set the gear in neutral as an added precaution.
These precautionary steps will ensure that you can remove the propeller as safely as possible.
Bend The Nut Tab Washer
You will need a pair of needle-nose pliers for this step. Using the pliers, carefully bend back the propeller’s nut tab washer. You only have to bend all the tabs out. You have to ensure that they are not in the way of the grooves. (source)
Use A Piece Of Wood To Block The Propeller
Take your 2 x 4 wooden block and place it between the propeller blades. The wood will serve as a blocker from the propeller. This way, you can prevent the prop from spinning around while working on removing it.
Unscrew The Propeller Nut And Remove The Nut Tab Washer
Video Credits: King Propulsion
Use a prop wrench for this step. Twist the wrench carefully to loosen the prop nut. Next, remove the nut tab washer and set it aside with the propeller nut.
Remove The Propeller
Video Credits: WakeProps
Take away the wooden block you used to stop the propeller blades from spinning. Then, hold each side of the propeller and pull it off slowly. Pulling off the propeller should be relatively easy. But if you have not removed it for a long time, it might be stuck a little. In this case, please give it a slight tap to help it loosen up before pulling it off.
If the propeller does not have any damage, you can set it aside with the nut and tab washer that you removed earlier. But if it has any damage, you need to replace it with a new one.
Slide The Thrust Hub Off The Shaft
Video Credits: propgods1
Remove the thrust hub off the shaft. It can be a little challenging to remove but give it a little tap, and you will be able to slide it off smoothly. Just make sure that you are careful with tapping so you will not hit the shaft.
Next, wipe the thrust hub clean to see if there is any damage. If there are no signs of wear and tear, place it with the other parts that you removed. Otherwise, you can dispose of it and replace it with a new one.
Clean The Splined Shaft
Video Credits: Tom-n-Jerry’s Boat Center
Get your clean rag and wipe away the grease on the splined shaft. This way, you will be able to check for signs of wear. Ensure that you remove all the old grease and gunk from the shaft.
After removing the grease, get your flashlight and check the shaft’s area to make sure there is no monofilament fishing line wrapped around it. Removing anything wrapped around the shaft’s area is crucial as these foreign objects can damage the bearings and seals.
Grease The Shaft And Thrust Hub
Video Credits: QSProductsOfficial
After inspecting and cleaning the shaft, you need to apply a small amount of waterproof grease to both the shaft and thrust hub. You can use your rag to spread the grease and get it into the splines of the shaft.
After greasing the shaft, you can successfully replace the outboard propeller on your boat. If you wish to install a new one, follow the next two steps below.
Install Your New Propeller
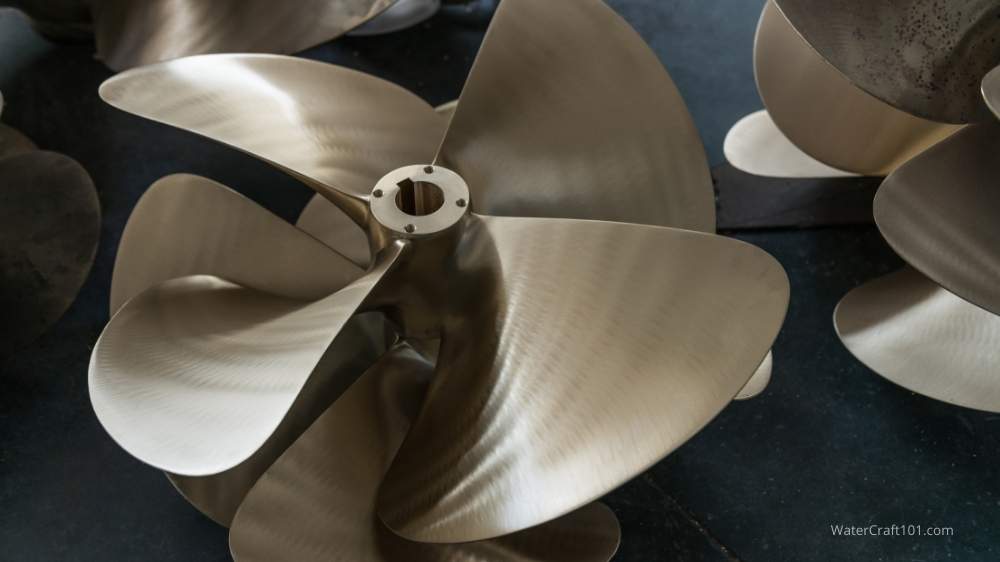
Hold the propeller with your two hands and line up its splines with the splines of the shaft. Then, slowly slide the new propeller into place.
Since you are installing a new propeller, you may need to remove the Flo-Torq II drive hum from the inside of your new propeller.
Moreover, ensure that you install the propeller correctly as per the instructions.
Install The Propeller Nut Tab Washer And Propeller Nut
Once the propeller is in place, the next thing you want to do is to put the propeller’s nut tab washer on, followed by the propeller nut. After installing these pieces, take the 2 x 4 wooden block again and use it to prevent the propeller from spinning.
Finally, tighten the prop nut, ensuring that you are not tightening it too much. (source)
Removing An Inboard Propeller
Some boats have an inboard propeller. Its removal process is pretty straightforward, just like removing an outboard propeller. You need the same tools for the removal process, except that you need to add a clamp prop puller to your list.
Trip The Kill Switch And Remove The Cotter Pin
Activate the kill switch before working on removing the propeller
Use your needle tip pliers to remove the cotter pin
The cotter pin is fragile, so you need to remove it as carefully as possible if you do not want to damage it. (source)
Loosen The Prop Nut
Place your wooden block between the propeller blades so it will not spin as you work on it. Next, get a full-height nut and replace the half-height nut on the shaft’s tail with it.
When pulling the propeller, you need to use force; keeping the nut at the shaft’s tail will stop it from bursting loose and hurting you.
Pull The Propeller
Video Credits: Wake Props
This step is where you are going to use the clamp prop puller. Position the clamp prop puller and twist the screw for a few turns. The propeller will pop free from the shaft as you loosen the screw.
If the propeller did not pop free, use your hammer and give the back part of the clamp prop puller a few taps. Ensure that you are not hitting the propeller itself to prevent damaging it.
If you do not have a clamp prop puller, you can also use your hands, but you have to be extra careful to avoid hurting yourself. Grasp the propeller with your two hands tightly and pull the propeller in a straight line. Make sure that you hold the propeller tight as it could cut your hands if it slips from your grip.
Remove The Full-Height Nut
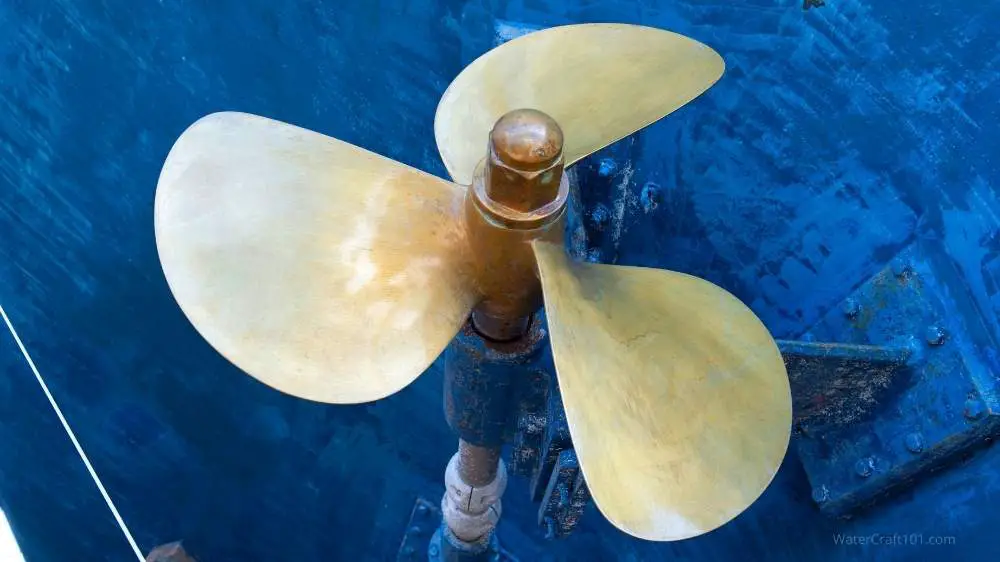
Now that the propeller only loosely connects to the shaft remove the full-height nut at the shaft’s tail. Once removed, you can take the inboard propeller off and set it aside. Be careful not to drop the propeller.
If you are planning to install a new inboard propeller or want to clean the shaft and keyway and install your old propeller after, proceed to the following steps.
Check The Keyway And Splined Shaft For Damage.
Remove the keyway and check if it has any wear or damage. If the keyway is too worn out, you will need to replace it. But if it still looks good, give it a clean and place it back in the shaft’s hole.
After ensuring that the keyway is in good condition, inspect the splined shaft and remove anything wrapped around it, such as a fishing line.
Apply Grease To The Shaft
Apply a small amount of waterproof grease to the entire shaft. It is ideal to use a rag to spread the grease so that it will get into all the spline. It is essential not to add too much grease as it can create heat from fluid friction. As a result, your inboard propeller will face inefficiency and premature wear out.
Reinstall The Propeller Or Install A New One
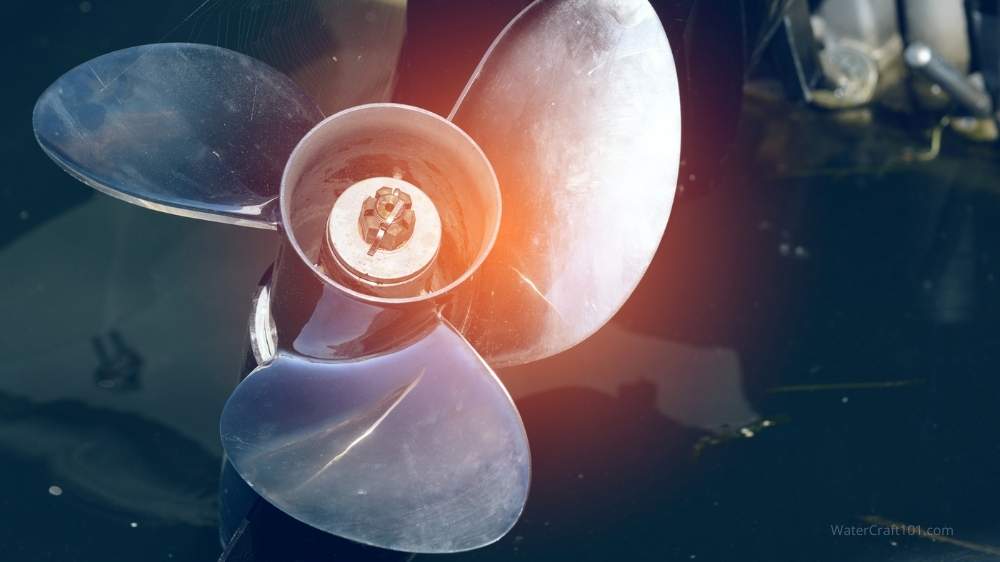
Get your propeller, making sure not to drop or damage it. Then, slide it back up the splined shaft carefully. The keyway needs to line up with the notch in the propeller. Finally, push the propeller all the way up until you can no longer push it.
Position The Half-Height Nut In Place
Hold the propeller using one hand and place the half-height nut back in place for this step. It does not matter if you cannot tighten it with your hand, as you will use a tool to tighten it later on.
Tighten The Nut
Get your woodblock and use it to stop the propeller from spinning as you work on it. Next, take the adjustable wrench and tighten the propeller nut back up. Make sure that you are not tightening the nut too much as it can cause damage to it.
Re-Insert The Cotter Pin
Finally, slide down the cotter pin back into its original position. After positioning the cotter pin, take your needle nose pliers and bend out the pin’s bottom parts. This way, you can prevent it from coming back out.
However, always remember that the cotter pin is relatively delicate. If you bend it too much, you might break it apart. (source)
How To Remove A Seized Propeller

Now that you know how to remove a boat propeller, you will be able to do the job yourself whenever you need to. However, there are some instances when the propeller seizes on the shaft and does not budge no matter what you do.
In such a case, the ideal thing to loosen up the propeller is to spray the propeller and shaft with either brake fluid or WD40. Let the solution sit for 24 hours to seep into the middle of the propeller and shaft. This way, the propeller will loosen up, and you will be able to remove it easily.
After 24 hours, apply a little more of the brake fluid or WD40. Then, get your clamp prop puller and use it for popping the propeller free. If the propeller still won’t budge, use a hammer and give the shaft a few taps to encourage it to loosen up.
Without proper care, your propeller and shaft may corrode, causing it to tighten up and not be removable no matter what you do. In the worst case, your only option may be to cut the propeller using a grinder so you can remove it. For this reason, you need to take care of your propeller correctly to prevent corrosion. (source)
How To Remove A Boat Propeller In 10 Easy Steps – Final Thoughts
I hope that this tutorial helped you with your boat propeller removal project. I had a hard time removing my boat’s propeller the first time I did it, so I created this article to help other boat owners like me complete this project easily.
Sources:
- Aileen D. Berrien. “The Practical Boat Man.” Boating, vol. 59, no. 1, July 1986, p. 22.
- Scott Smith. Ultimate Boat Maintenance Projects. Voyageur Press, 2004.
- Jean Luc Pallas. AC Maintenance & Repair Manual for Outboard Motors. Bloomsbury Publishing, 2013.
- Don Dannenberg. “Inboard Propeller Removal Procedure.” How to Restore Your Wooden Runabout vol 2. 2005, 82.
- Bloomsbury Publishing. The Boat Repair Bible. A&C Black, 2012.

