How To Start an Outboard Motor That’s Been Sitting (Fast!)
An unfortunate downside to owning a boat is that sometimes your motor will have to sit for long periods of time without being used. This can result in difficulty starting your outboard motor, but not to worry, there are steps you can take to start your motor just like new.
Here are 9 steps you can take to start an outboard motor that’s been sitting:
- Remove the airbox and lubricate all components.
- Drain old fuel from the fuel tank.
- Connect a second tank full of brand new fuel.
- Replace oil cylinders and spark plugs if no longer functional.
- Check and replace gear lubricant if needed.
- Check the oil levels and replace or add more.
- Connect To a Fully Charged Battery or use a battery charger.
- Start the engine and run it using a garden hose.
- Enjoy your fully functional outboard motor.
In this article, I will go over these steps in-depth for starting your outboard motor that has been sitting for an extended period of time, as well as some of the most frequently asked questions about starting your outboard motor. So let’s get started.
1. Remove the Airbox and Lubricate All Components
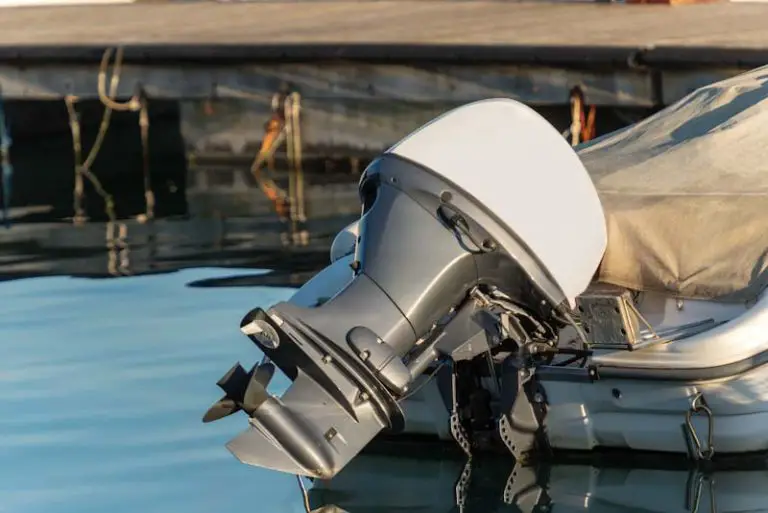
The first step to getting your old boat motor running again is to remove the protective box covering your motor. This will allow you to see what you are working with. Most airboxes detach pretty easily using the clasps on the sides.
Once you have removed the airbox, you should begin lubricating all of the components. Especially those that experience a lot of movement when running, such as the throttle plates and the springs on the control linkage arm.
These components have been sitting for quite some time, and some of them will be pretty delicate. Without proper lubrication, you risk the chance of breaking them when your motor starts up.
When it comes to selecting a good lubricant for your motor components, I recommend STA-BIL Fogging Oil on Amazon.com. It will lubricate your motor parts easily and is very cost-effective.
Be sure to be thorough when lubricating the components of your motor, especially when dealing with the linkage arm.
2. Drain Old Fuel From the Fuel Tank
The next step you should take is to drain all of the old gas from the fuel tank and replace it with new.
You will want to do this because when old gas sits stagnant in a tank for an extended period of time, it can become less efficient.
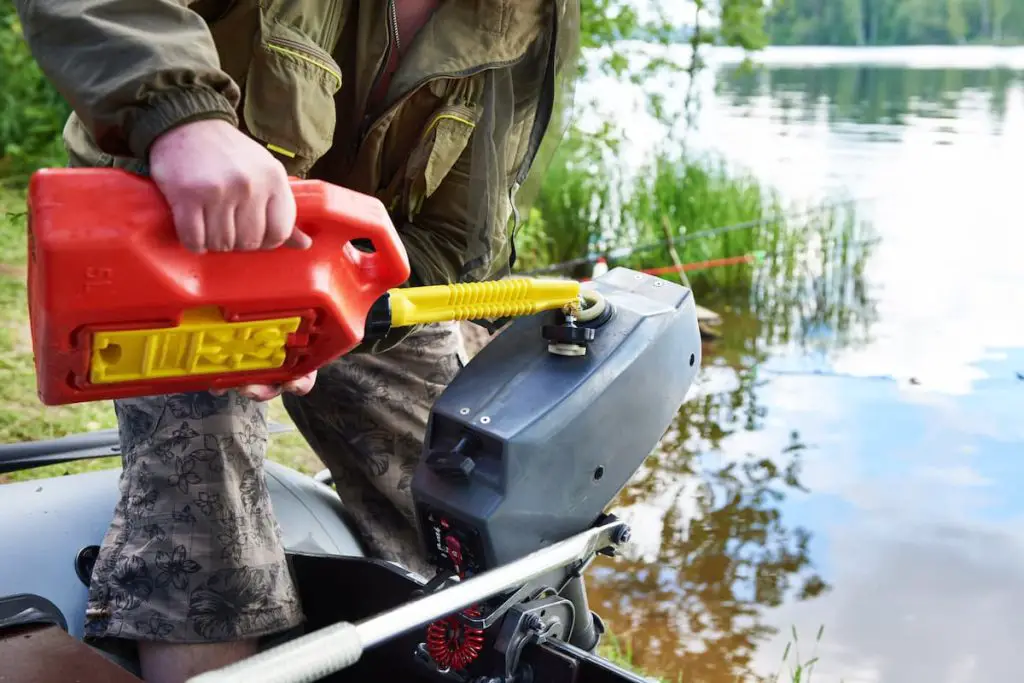
Also, if old gas sits in your fuel tank for too long, the ethanol can attract water which can build up inside of your tank. Not to mention if fuel has sat for a very long time, it can collect dirt and other build-ups that will be sucked straight into your motor and can cause significant damage to your engine.
This is why it’s best to drain any fuel that has been sitting inside of your tank for more than 6 months. But, again, it is better to be safe than sorry.
To drain the gas from your fuel tank, simply open the valve and use an old jar or container to begin draining the unwanted gas. This step can take a few minutes, but it’s crucial in order to get your outboard motor running properly.
Just be sure to dispose of the old fuel safely and correctly.
3. Connect a Second Tank Full of Brand New Fuel
Now that you are draining the old fuel that has been sitting inside of your tank, it is best to connect your motor to a second tank full of clean fresh gasoline.
You can do this by switching the fuel lines out and reattaching it to the new container of gas. This way, your motor is only running clean fuel, and you can eliminate the possibility of your boat sucking in bad fuel that is stuck in your old fuel lines.
Remember to be careful when handling gasoline and not to spill any on yourself as it is highly flammable.

4. Replace Oil Cylinders and Spark Plugs if No Longer Functional
You will need to replace the oil cylinders and spark plugs if they look old and rusted. Sometimes they will merely need a good cleaning but if you are worried that yours are too far gone it is best just to replace these parts.
Replacing your boat’s oil cylinders and spark plugs shouldn’t cost too much and is much more cost-effective than a broken motor. However, it’s also important to remember to lubricate the new hardware after installation to ensure everything continues to work correctly.
5. Check and Replace Gear Lubricant if Needed
It’s essential to check that all of your gears are well lubricated and that the lube is not gritty or has too much water built up on it. As a general rule, you should replace your gear lubricant once a year or every 100 hours of use.
If you notice any of these signs, it’s a good idea to clear the dirty lube and replace it with new ones so that your boat motor can run as cleanly as possible.
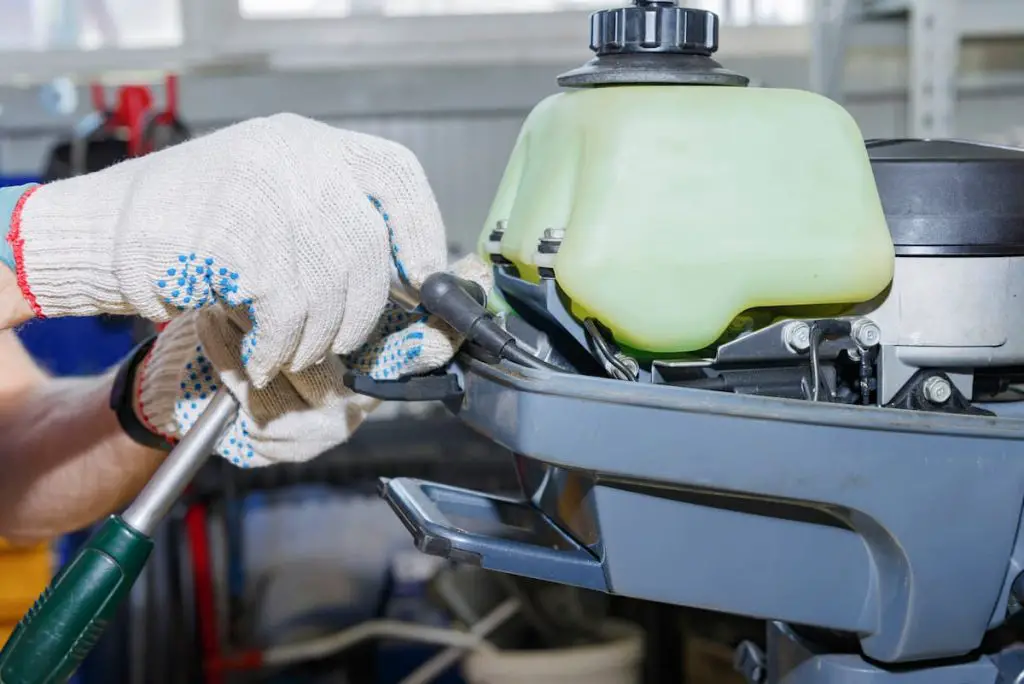
To change your outboard motors gear lubricant, you will need:
- A large flathead screwdriver.
- Drain pan.
- Some cardboard.
- Fresh gear lube.
- Lube pump.
Now you can definitely have this done professionally, but it’s relatively simple to learn how to do it yourself.
To change your own gear lube, you will want to:
- Unscrew your bottom vent plug.
- Unscrew your top vent plugs.
- Once vent plugs have been loosened, lower your motor over your drainage pan.
- Remove plugs completely, starting with the bottom one.
- Check the magnetic part of plugs for metal shavings indicating gear wear.
- Check that there is no water in your oil as it drains into the pan.
- Allow your oil to drain completely, then tilt your motor back up slightly.
- Plug the gear pump into your quality bottle of oil.
- Fill your gear case from the bottom to the top.
- Insert the tip of the pump into the gear case and lower the motor back down.
- Slowly pump in the oil so that you avoid creating air bubbles.
- When oil begins to come out of the top, you should stop pumping.
- Replace the plugs starting with the top ones.
- Clean up, and you’re all done.
For a more in-depth guide to changing your gear lube, you should definitely check out the Shoreline Marines video on this subject.
6. Check the Oil Levels and Replace or Add More
Just like an old vehicle, before starting up your outboard motor that has been sitting for a while, it is essential to check your oil levels. If you notice that your oil is low or if it hasn’t been changed in a while, it’s probably a good idea to just change the oil rather than topping it off.
You can do this process yourself fairly easily or have it done professionally if you’d rather not.
7. Connect to a Fully Charged Battery or Use a Battery Charger
Next, you will want to connect a fully charged battery to your motor or take the time to charge up the old battery using a battery charger. Battery chargers can take a long time to charge your boat’s battery fully, so you will want to do this ahead of time.
You can acquire a new battery or battery charger at most auto part stores or online. Another option is to take your battery in to charge it at your local mechanic’s shop.
Also, it is important to note that battery chargers can be dangerous and should never be left unmonitored since they can lead to your battery overheating and starting a fire.
8. Start the Engine and Run It Using a Garden Hose & Muffs
The next step is to finally start your boat’s motor and run it using a garden hose to keep it from overheating.
You don’t need anything fancy; a simple garden hose hooked to an outdoor spigot will do the trick. The primary goal in using water is to keep your motor cool.
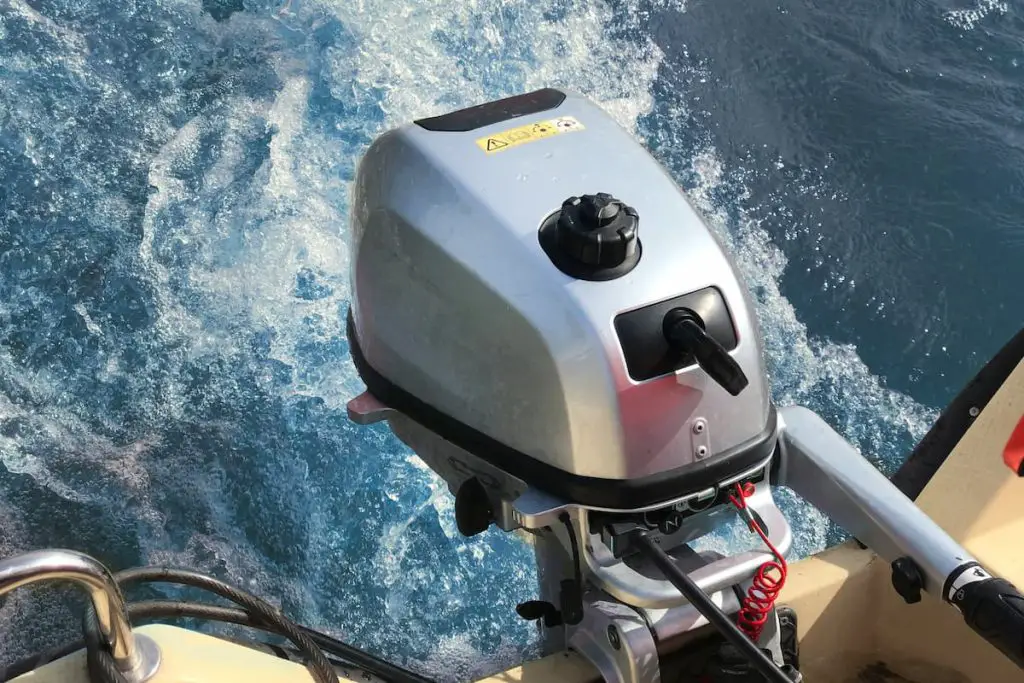
You can use boat muffs to hook to your garden hose and slip the muff over the intake holes on your motor so that the water will flow through the motor as it would when your boat is in the water when you go to start it.
You can acquire boat muffs for relatively cheap, and I personally recommend Seachoice Motor Flusher on Amazon.com. They are easy to use and will get the job done nicely.
Once you have your outboard motor started, it’s a good idea to leave it running for a little while. This will help everything to get lubricated and to keep the battery charged.
9. Enjoy Your Fully Functional Outboard Motor
To keep your boat’s motor in the best condition, it is recommended that you take it out regularly or at least start it every so often. When your motor is getting regular use, it will stay in better condition since it’s regularly moving, and the lubricants are better able to keep all of their components coated.
Now that you know that your motor is fully operational, you are all set to take your boat out on the water for a voyage.
What You Will Need To Get Your Outboard Motor Started
Now that you know how to start your outboard motor after it has been sitting, here is a consolidated list of supplies you might need prior to getting started.
What you will need to start your outboard motor safely:
- A fresh battery or battery charger
- New spark plugs (if needed)
- New oil cylinders (if needed)
- Lubricant or fogging oil
- A glass jar or container to drain old fuel into
- New Oil
- A container of new fuel
- Boat muffs
- Garden hose
You may only need one of these items, or you may need several depending on how difficult the motor is to start.
Frequently Asked Questions
Next, I will take you through some of the most commonly asked questions about starting your old outboard motor that has been sitting.
How Long Can Gas Sit in a Boat Before It Goes Bad?
Gas can sit in a boat for about 6 months before it goes bad. Some types of fuels will last longer, especially if a stabilizer has been added to them. While fuel with ethanol in it goes bad more quickly since it attracts moisture that will cause water to build up in the tank.
How Long Can a Boat Motor Sit Without Running?
How long your boat motor can sit without running will significantly vary based on the type of motor, fuel used, and how your boat is stored. As a result, boat motors can sit without running anywhere from months to years.
Can You Start an Outboard Motor Dry?
You can start an outboard motor dry, though it is not recommended to do so for more than a few seconds. When you start your motor dry, you risk the engine overheating. This is because water is used to keep the boat engine cool as it runs.
How Often Should You Flush an Outboard Motor?
You should flush your outboard motor as often as your boat’s manufacturer directs you to do so. It is also recommended that you flush your motor after each use in saltwater and regularly after freshwater use.
Final Thoughts
Whether you are in the process of purchasing an old boat that has sat for some time or are simply looking to get your old boat back on the water, it is essential to start your outboard motor carefully.
So remember:
- Always drain the old fuel from the tank and replace it with new.
- Lubricate all components.
- Start with a fully charged battery.
- Replace broken cylinders or spark plugs.
- Never start without running water to your motor.
The overall process to get your old motor started isn’t too complex, but you will have to follow each step for success carefully.

